Tuesday, April 19, 2011

Inspiration: Flower Hair Pins

I made quite a few of these


Here's how I've been using them. I hope it inspires you! 

In my messy hair

Two pins on the front of a vintage purse

Slipped through the buttonhole on my jean jacket

Monday, April 18, 2011

Flower Hair Pins Tutorial

Hi! Happy Spring! I thought I'd share a cute (& quick) DIY project that can brighten up your springtime outfits. These are made with bobby pins and can obviously be used in your hair, but you can pin them on other things too…like a purse, a scarf,  or the collar of a shirt.


You'll need:
Medium to small size silk flowers (I got mine from Dollar Tree)
Glue (I use Beacon's brand, like Fabri-Tac but for all crafts)
Scissors
Bobby Pins

Start by removing the plastic stem and silk part
(this is called a "pedicel"…Thanks Wikipedia!)


If the silk part is attached to the plastic, gently pull it off


Next, snip the stem so it's flush with the bottom of the flower

Squeeze some glue into the hole left in the stem. The glue should seep down into the layers of petals. If they are loose or sliding, just press them back onto the stem. 

Now, take the silk "pedicel" and slide the bobby pin onto it. The "teeth" of the bobby pin should be facing the inside of the the pedicel. 

Put some glue on the inside of the pedicel

Stick it face down into the stem.

By putting the bobby pin through the pedicel, you're ensuring the pin will stay attached. If you just glued the bobby pin on, it wouldn't have enough surface area to stick to the flower.  

Prop the pins on a book so they dry straight. Let dry overnight.

Done!

Wednesday, February 9, 2011

Encaustic work this week...

I've been working on some pieces this week for the upcoming art & craft fairs and I thought I'd share my progress. I'm focusing on encaustics using pure beeswax and found objects. 

I love using the found objects I have on hand. I remember where each piece is from and the story of how it ended up in my studio as I'm working. I'm happy to put them to use in my artwork.

Here's some photos of some finished pieces and some works in progress… 

These are part of a series of 7 pieces 
called "Natural Exposure"


A jewelry box covered in dictionary pages 
& 1946 camera, slide, & video recorder ads

Two pieces in progress, one with 1950s maps & 1940s 
travels ads and the other has vintage book pages 
and 1940s jewelry ads

For more information on encaustics go here

Tuesday, February 8, 2011

"Fairy Tale" Collage Workshop

"Early Bird" DISCOUNT
on this workshop!
Register & pay early
and receive $5 off!**


Supply List:
-Stapler & extra staples
-A newer book to tear pages out of
(I recommend getting one from the dollar store. Old books have brittle pages that won't work for paper flowers)
-Scissors
-permanent markers for handwriting on canvas,
choose according to the color scheme you plan to use
(I recommend these markers, buy them locally at Michael's, or newer Sharpies that still have a pointy tip)

*Each class will last 3-4 hours
depending on student's skill level*

In this workshop, you'll create a unique piece of
artwork with your own style and color scheme.


Email Erin at ArtAllAboutIt@gmail.com to register!

Bring two friends to this workshop
and you can come for FREE!*

*Two paying students earn you one complimentary spot in the same class. Offer does not apply to private classes. Cancellation or non-payment for class spot will result in original student paying in full. In the "Fairy Tale Collage" classes, "free" student will still need to pay a $10 materials fee. All students expected to bring items on supply lists.

**Early Bird DISCOUNT applies to registration & payment made on or before 3/18/11


Saturday, February 5, 2011

"Heart Study" Workshop #2


Had another great class today! Proud of my students! What a fun afternoon…

This is the one I made today.

Sandi


Haley
Nina

Ginnie

Great job gals!

Still room in Feb 9th class! Email Erin to sign up!

Thursday, February 3, 2011

"Heart Study" Results

I held the "Heart Study" canvas workshop today for the Thomas Taylor Towers Senior Craft Club. It was a lot of fun! I love interacting with the students and seeing the creativity flow as they work on each step of the project. They all turned out beautifully…and all of them so UNIQUE!

Marie

Bernice

Donna, don't hide!

There we go!

Pauline

Minnie

Mary

Tina

There are still 2 spots open in each of the upcoming "Heart Study" workshops held this Saturday, Feb. 5th & Wednesday, Feb. 9th. Email us if you'd like to come!


Bring 2 friends and you can come for FREE offer still applies to this class.


Monday, January 17, 2011

Chinese Bamboo Brush Painting Tutorial


Some of my favorite watercolor brushes are a set of bamboo paint brushes I was gifted by a friend. I like to use them for regular watercolor painting, but the Chinese technique is fun to dabble in. I'm no expert on the subject, but it's a a lot of fun to try.

Here's a little history lesson and a how-to…

Soft bamboo brushes have round bristles, often made of goat or sheep hair. They hold a lot of liquid and are perfect for watercolor painting (even though ink is traditionally used with these brushes). The ink paintings are painted on rice paper and are often of bamboo and Chinese characters.


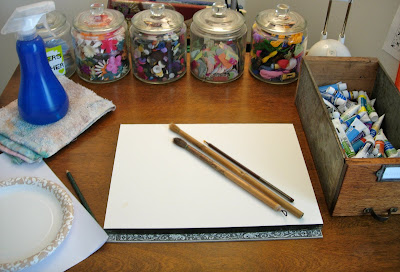
To get started, you'll need:

-bamboo brushes, one medium size and one very fine- You can use any soft round bristle brush though, to get the same effect
-watercolor paper & some extra for practicing
-watercolors- I used sap green, yellow ochre, & burnt umber
-spray bottle with water
-rag
-plates or a palate

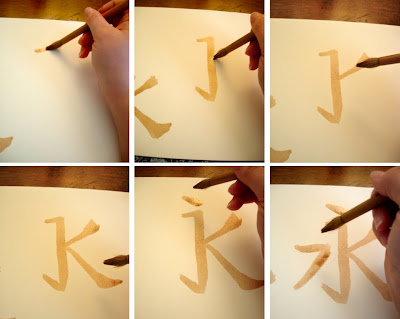
The Chinese character for "courage" or "bravery" is said to include the 8 essential strokes for painting with bamboo brushes. I'm not sure I used 8 different brush strokes in my final painting, but it was fun to warm up by painting the character.

Start on a practice sheet of paper. We'll use this to paint the "courage" character and to practice painting the bamboo and leaves.

Here's a step-by-step of the character strokes-

Next, let's practice bamboo-

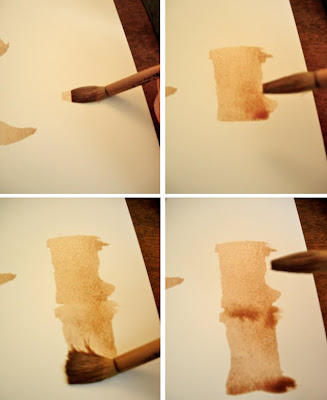
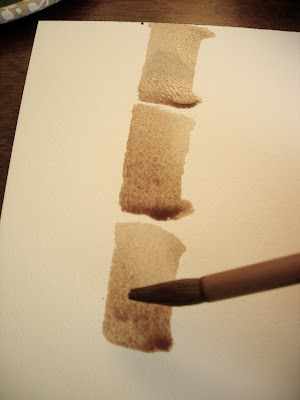
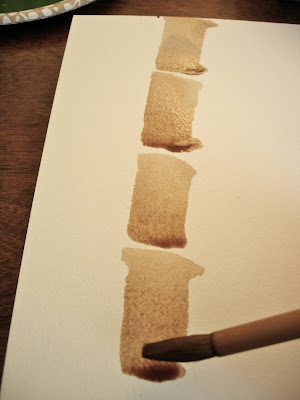
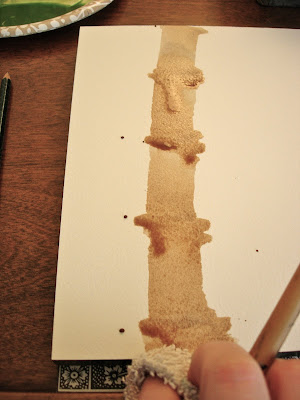
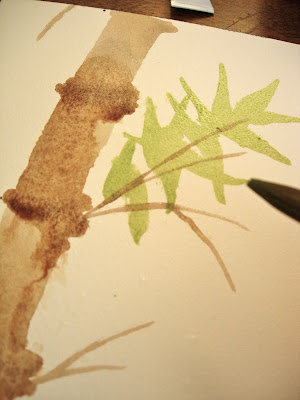
Load your brush with thin paint. Starting with the brush flat & horizontal on the paper, slowly pull down to make a wide stroke. This is one section of the bamboo. Add connecting sections below it. Where they join will create a natural looking joint in the bamboo.
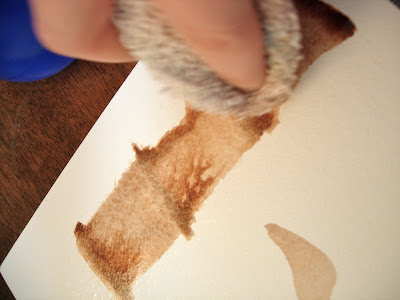
Blot with a towel if it's gotten a little too wet or to add texture.

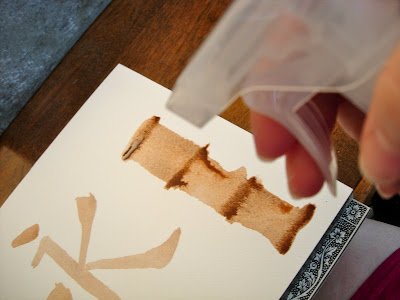
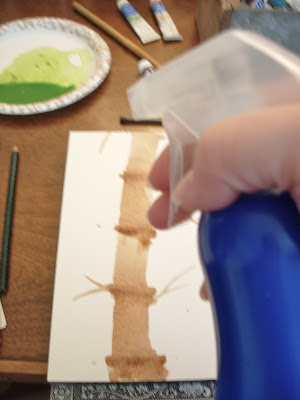
Spray with water to move the paint around and give more texture.
Now, for the leaves-
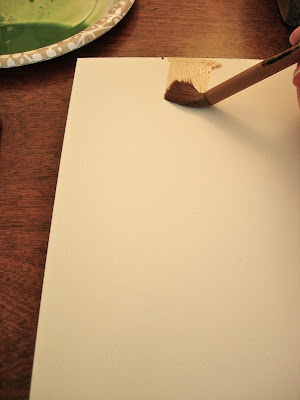
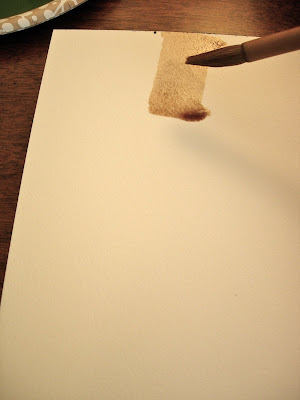
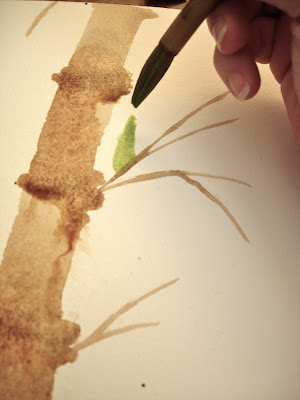
Bamboo leaves are medium length, long and pointed at the tip. Practice what feels best for creating these leaves. One of the simplest ways to create them is to load the brush with thin paint, push the bristles down, lift up while turning the brush handle, then pull it away to create the leaf tip.

Here's a video of me practicing the leaves.


Now for the painting-

Start by making your first bamboo segment.

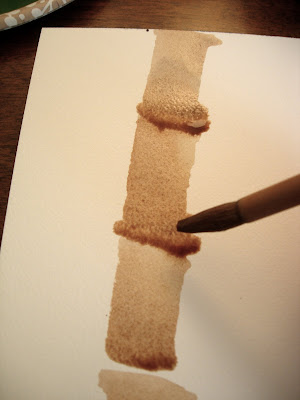
I left a gap in between my segments so I could go back and make the joints more defined. By adding the joints myself, I had more control of the paint. It has a natural look either way you create them.

Number 3…

Number 4…

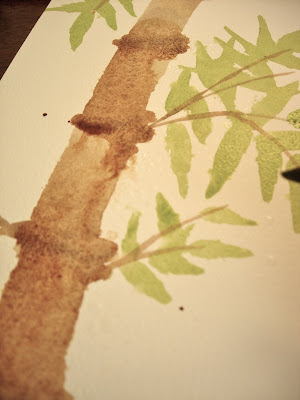
Now, with the tip of the brush, gather some darker paint and create the segment lines.

I added a few layers to create more depth. Let the paint settle, and then add another layer of paint on each segment.

Blot to control the paint and add texture.

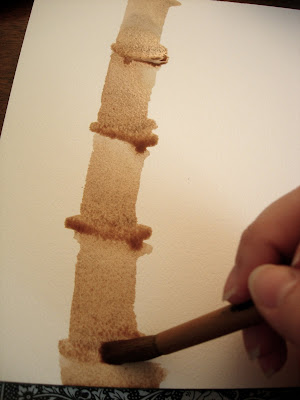
Using a fine brush, add the branches. Branches only grown from the segments of the bamboo plant.
Spray the whole thing with water to give a little texture.

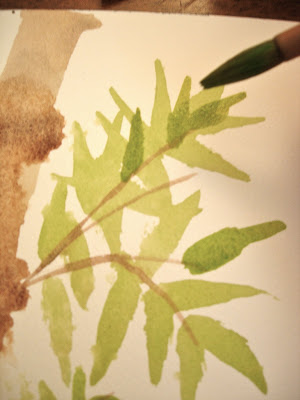
Begin adding the background leaves to the branches. Use thinner paint (more water).

Keep adding…
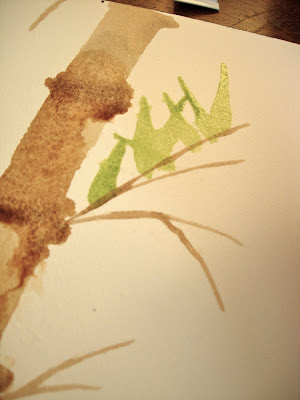
Fill the branches...


Add some more paint to you palette to deepen your color. Begin adding darker leaves in front of the lighter background leaves= about half the amount of the lighter ones.


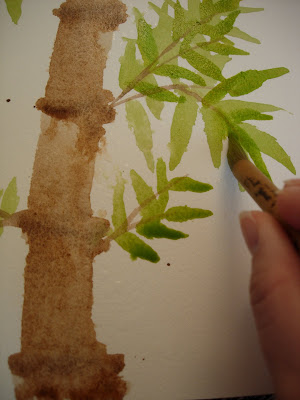
Spray a little water or blot if you need to.
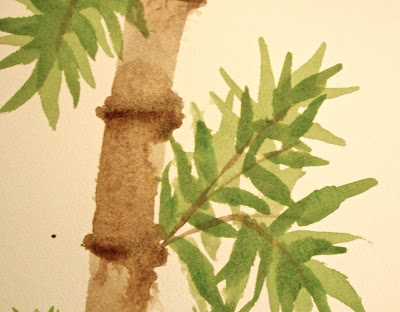
Finished!

…and then, of course, I had to put a little more of an Erin spin on it…Here's the final piece of artwork.


Here's where you can buy the brushes. I learned about this technique here & here.